Week 1: Names and Uses of Materials
Date:
05.08.2011
|
|
Learning area:
Design and Technology
|
Class:
Foundation class
|
Teacher:
Desire L’olive
|
No. of students in class:
18
|
School:
M.I.T.D Foundation Training Centre
|
Time:
|
Topic:
Name and uses of Materials
|
Duration:
50minutes
|
Aims:
Students must be aware of the
existence of materials and be able to list down some uses.
Instructional objectives:
At the end of the lesson, the learner should be
able to
(a) List the names of common
materials in the immediate environment
(b) State some uses of each
material.
Pre-requisite knowledge:
(a) Some pupils know that
different materials are used for constructions purposes.
(b) Students are able to name one
or two materials.
(c) Students are able to
identify one or two basic materials.
Tools and teaching aids:
(1) Whiteboard
(2) Pictures
(3) Available object brought from the workshop
Classroom layout:
The instructions will be delivered to the whole
class. Each student will take his own seat with all their required materials
and learning tools. There will be rows of seats which will be spaced to
facilitate movement of the teacher and the individual questioning of the
students.
Methodology:
(a) Oral questioning and
answers
(b) Visualizing
(c) Demonstration
(d) Explanation
(e) Observation
(f) Chalk and talk
(g) Identification
(h) Handling
(i) Writing and
reading
Techniques and Activities:
For this lesson, I will use the inductive reasoning
to implement my lesson. The students will be allowed to scrutinize, as far as
possible, all related areas of the topic.
Activities will include visualizing, touching,
writing, research, handling, discussions etc. During the ongoing of the lesson,
oral questioning of individual students will be done to ascertain that learning
is taking place. This, on the other hand will promote student participation
(learner involvement).
Procedures:
Step 1 :
- Recall
(a) Explanation on the
different types of materials.
(b) Listing down of already known
materials
Answers expected:
There are many materials: metals, wood,
plastic…….etc
Step 2:
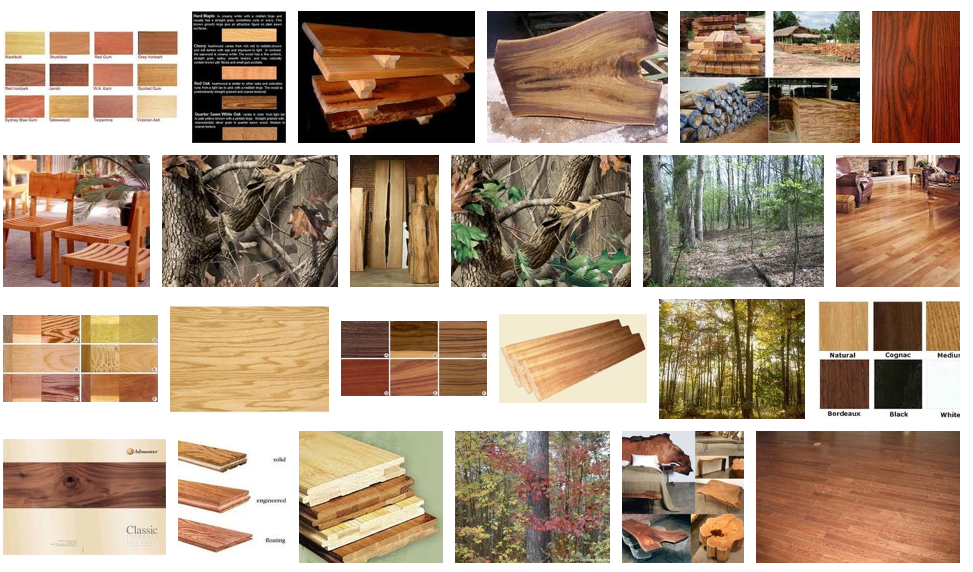
(a) Visualizing of pictures,
flip charts
(b) Handling , touching available
pieces of materials and objects available in the class
(c) Listings down on the
whiteboard as many materials as possible (metals, wood, plastic, concrete,
ceramic, stone, glass, fabric etc.
Step3:
(a) Explanation on different uses of the listed
materials.
(b) Explaining to students that we are surrounded
by many materials (objects, artefacts, vehicles, buildings, etc).
Step 4:
(a) Group work is carried
out for identification of available materials.
Listing down of the uses of different
materials on Bristol paper
Step 5:
Class-work:
Evaluation:
Correction of class-work and feedback given
Remedial work:
Individual work is carried out as students are
asked to write all materials they know on paper and submit.
Home-work:
1: Students are asked to find pictures of different
objects, made of different materials, and do collage work on Bristol paper.
IMPLEMENTATION STAGE
Different strategies can be used to implement this
lesson. All these strategies, inductive, deductive etc, have shared vision for
a common goal; the most effective and efficient style or a method that I can
present the subject matter in order to maximize the student learning
capability. For this lesson I used the inductive method compared to traditional
teaching strategies. Inquiry strategies, problem based-solving, discovery
learning is the different instructional method that I used to implement my
lesson.
For this particular topic, I decided to use two
inductive teaching methods, namely inquiry based learning and discovery
learning.
The steps I followed to conduct my lesson are
explained.
Step 1 (3mins)
The word material was written on the whiteboard.
Step 2 – 8 mins
Students were allowed to think individually about
the word for five minutes, with word related to material written on their
copybooks. I walked around during those five minutes to have a glance at their
work. This part of the lesson was intended in order to allow those students,
with many learning difficulties to develop their thinking skills. Words written
by the students included macadam, ferraille, tournevis, marteau, ciment, clou
etc
Step 3 – 10mins
A precise explanation was given on the
blackboard of the word material, supplemented by pictures, flipchart, magazines
and real small objects (compass, match box, glass, toilet paper, calculator,
gravel, newspaper etc) brought by me.
Step 4 – 10mins
Students were directed to write all notes on
their copybooks and to reflect on them for questioning. At this stage of the
lesson I told students to relate what have been learnt to their immediate
environment. I also asked the students how much time they needed to carry this
task so as to allow them to grasp all relevant information.
I used this approach of mutual agreement, so as to
boost the confidence, responsibility and trust towards the teacher, of the
students.
Step 5 – 10mins
Then I asked students to direct any question to me
in order to clarify any point, word, or materials of the lesson so far
conducted. This was carried out by the students raising their hands and the
teacher attending one by one. The method employed was oral questioning, oral
answering, visualizing, and handling.
No comments:
Post a Comment